Product Customizations with Application Components
In this guide you will learn how customer-specific solutions can be created based on a standard product. We will leverage the capabilities of CUBAs application components to customize the project and add customer-specific functionalities.
What we are going to build
This guide enhances the CUBA Petclinic example to show how two customer-specific extensions Kanto-Petclinic and Alabastia-Petclinic can be created and how specific extensions are created:
-
convert the Petclinic project into a CUBA application component
-
create two CUBA applications:
Kanto-PetclinicandAlabastia-Petclinicthat use the CUBA Petclinic as a basis
Kanto-Petclinic
The Kanto Petclinic extends the original Project with the following customer specific behavior:
-
additional attribute
previousIllnessesto the Visit Entity -
allow users to create a Visit for today from the Pet Browse screen
Alabastia-Petclinic
The Alabastia Petclinic extends the original Project with the following customer specific behavior:
-
give users the ability to assign Treatment Rooms to Visits
-
automatically pre-select the Assigned Nurse based on the current user when creating a new Visit
-
automatically pre-select the Nurses Treatment Room for a new Visit
Requirements
Your development environment requires to contain the following:
-
CUBA Studio as standalone IDE or as an IntelliJ IDEA plugin
Download and unzip the source repository for this guide, or clone it using git:
Overview
Application components in CUBA can be used to create reusable components of functionality that can be leveraged in other CUBA applications. Depending on how much functionality the application component contains, it can have a form of a small addon, that enriches your application with a particular aspect.
But application components can also be used to represent a complete application. In this case, the application component contains all the entities, screens and business logic that the standard application consists of. Then the actual application just uses the application component and only slightly adjusts it.
This second scenario is what this guide covers in particular. In the example we will convert the Petclinic application into an application component. Then we will create two applications that use this application component and adjust it to their customer-specific needs.
With this approach we can incorporate requirements from customers that would like the standard product (Petclinic) to be adjusted for their purposes. Application components give us a compile-time extension mechanism for this case.
Different Extension Mechanisms
Before we dive into the concrete example of the Petclinic, let’s explore the differences between compile-time and runtime extensions. Depending on the required capabilities, deployment and distribution mechanisms of the product, one or the other might be more suitable.
Runtime Extensions: Plugins, Scripting & Configuration
The first extension mechanism of a CUBA application is a runtime extension. The main characteristic of this extension is that during the build process one application artifact like a war binary is created. This binary is always the same and distributed to all customers. The extension part of the application does not change the original binary e.g. by replacing certain classes.
Instead, the extensions are added at runtime / deployment time of the application. This can be done in various forms. One example is a plugin architecture. In this case it would be additional jar files which contain the plugins for the application. Those jar files are placed to the application server. Oftentimes it is required to restart the application to pick up those plugins.
Such a jar file plugin can contain source code. Oftentimes it is used for implementing certain interfaces which are pre-defined within the main application to fulfil or replace a particular functionality.
| There is a dedicated blog post called In any incomprehensible situation go scripting in the CUBA Platform Blog which explains the plugin approach in more details. |
The next step, which is less powerful, is scripting. In CUBA there are several built-in mechanisms / examples for scripting. Scripting allows us to programmatically define particular pre-defined areas of the functionality in the application. One example of this inside CUBA itself is the Constraint definition within the security groups administration. It is possible to define a groovy script that will determine if a particular user has access to a particular resource like an entity record.
Oftentimes scripting is combined with configuration. Taking the Constraint definition once again: the groovy script is just one part of the dynamic configuration. It actually belongs to a bigger "Constraint configuration" which includes a link to an Entity, a type of operation, etc.
Configuration also allows certain extension capabilities. In contrast to a plugin, normally those extension points are more narrowed in terms of the overall impact.
| You can find more information on the topic of different customization options in the blog post How to develop a highly customizable product from the CUBA Platform Blog. |
Compile-Time Extension: Application Component
The second extension mechanism of a product is a compile-time extension. This type of extensions emerge during the production process of the software. It may appear at the development time through customer specific extensions / adjustments of the standard product. Alternatively, it can also be created at the time the binary is created, e.g. by adding certain additional jar files into the binary.
In this case, almost everything can be changed by these extensions, because it is very early in the software production process. Additional entities can be created, business logic can be overridden and customer-specific UIs can be created.
Petclinic as a Product Line
Picking up the Petlinic example from above, in this guide we will make the Petclinic product not a standalone software anymore, but rather a Product Line. The base product is the Petclinic example as we know it. Additionally, we will create customer-specific projects / products for particular customer types or even a single customer.
Those extensions are CUBA applications (Kanto-Petclinic and Alabastia-Petclinic in our example) that use the Petclinic base product as an application component. With this we will leverage the compile-time extension mechanism for a CUBA application.
Making the Petclinic Project an Application Component
To leverage the Petclinic project as a product line, it is required to understand what makes up a CUBA application component and where it differs from a regular CUBA application. In fact, the difference is not very big - only one particular file called app-component.xml. This application component descriptor file marks a CUBA application additionally to be used as an application component. This means it can be used by other CUBA applications.
In order to prevent a module naming collision between the application component and the application that uses it, it is required to change the module prefix of the Petclinic project from app to petclinic via the Project Properties window in CUBA Studio.
|
Besides that, nothing is really changed. The application component can still be used as a regular CUBA application. It can be started in CUBA Studio, business logic can be created, UIs can be generated, etc.
"Used by other CUBA applications" in this case means not only that the functionality of the application component shows up in the resulting application. Also, it is possible to interact with any part of the application component from inside the target application. Entities (like the Pet entity) can be referenced, Spring beans can be called or overridden, UI screens can be extended or replaced, etc.
Let’s look into the app-component.xml of the Petclinic example:
<?xml version="1.0" encoding="UTF-8" standalone="no"?>
<app-component xmlns="http://schemas.haulmont.com/cuba/app-component.xsd"
  dependsOn="com.haulmont.cuba, com.haulmont.addon.helium">

  <module name="global" blocks="*">
    <artifact name="petclinic-global" appJar="true"/>

    <property name="cuba.persistenceConfig" value="+com/haulmont/sample/petclinic/persistence.xml"/>
    <property name="cuba.metadataConfig" value="+com/haulmont/sample/petclinic/metadata.xml"/>
    <property name="cuba.viewsConfig" value="+com/haulmont/sample/petclinic/views.xml"/>
  </module>
  <module name="core" dependsOn="global" blocks="core">
    <artifact name="petclinic-core" appJar="true"/>
    <property name="cuba.mainMessagePack" value="+com.haulmont.sample.petclinic.core"/>
    <!-- ... -->
  </module>
  <!-- ... -->
</app-component>
This file contains a formal description of the application component structure. It exposes a couple of module elements. Those modules can declare artifact elements as well as property elements that should be exposed for this application component.
CUBA uses this information for configuring the right application properties (and values) and define which artifacts are packed into each application block (core / web). Normally, this file does not need to be changed manually at all, because it only contains static information about the application component structure.
Through CUBA Studio it is possible to generate the application component descriptor via the Menu: CUBA > Advanced > App Component Descriptor.
|
Using the Petclinic Application Component in a CUBA Application
After making the Petclinic project an application component, it is necessary to install it to a maven repository, so that the dependency mechanisms from CUBA (in particular from Gradle) can download the application component to the target application.
For installing there is a dedicated gradle task that should be performed in the application component project: ./gradlew install (the equivalent Menu entry in CUBA Studio is CUBA > Advanced > Install App Component).
With this task, the application component is built and put to the local maven repository, in particular to the .m2 directory within the users home directory:

After installing the application component, it can be used in the target application. One prerequisite for using an application component from the local maven repository is that inside the repositories block of the build.gradle file the maven local repository needs to be mentioned:
repositories {
    mavenLocal()
    //...
}
In order to use it, the dependency can be installed through CUBA Studio. Via CUBA > Marketplace… the application component can be found. In this case, the Petclinic application component is not in the public CUBA Marketplace, but rather in our local machine. Therefore, it does not appear in the list. On the top right, there is a button called Install add-on manually, which allows entering the coordinates of the application component: com.haulmont.sample.petclinic:petclinic-global:2.0.
When using a development approach within a team, the normal way of handling such a dependency is to use a dedicated maven repository like Nexus, Artifactory or Github Packages where the application component binaries are stored. In this case the application component does not need to be installed locally on everyone’s machine.
|
With those preconditions in place, the target application is ready to start using the application component.
Petclinic Extensions
As described in the beginning, we will do certain extensions to the different customers and their dedicated applications. We will start with the Kanto-Petclinic.
Kanto-Petclinic
This project only needs slight adjustments to the Petclinic core. There is additional information to store for a Visit, which previously described illnesses. Additionally, in the Kanto-Petlinic there are a lot of emergency visits. This requires the nurses to create Visits of a particular type for today. In order to support this use case, there should be a shortcut way of creating this kind of visit.
Extending the Visit Entity
In order to achieve the first requirement of storing previous illnesses to the Visit, the Visit entity must be extended. CUBA allows extending entities from application components or the framework itself via the @Extends annotation on the JPA entity. For the Kanto-Petclinic adding an attribute looks like this:
@Extends(Visit.class)
@Entity(name = "kantopetclinic_KantoVisit")
@DiscriminatorValue("KantoVisit")
public class KantoVisit extends Visit {

    @Column(name = "PREVIOUS_ILLNESSES", length = 4000)
    private String previousIllnesses;

    public String getPreviousIllnesses() {
        return previousIllnesses;
    }

    public void setPreviousIllnesses(String previousIllnesses) {
        this.previousIllnesses = previousIllnesses;
    }
}
The @Extends annotation replaces all occurrences of the Visit entity with its new extension KantoVisit. As the subclass can still be treated as a Visit, this also means, all existing logic / screens inside the application component will continue to work.
After this addition, CUBA Studio will generate the corresponding database update scripts. This will alter the original table instead of defining a new one.
More information on the Entity extension mechanism can be found in the CUBA docs: Entity Extensions.
The second part of that feature requirement is that the attribute previousIllnesses can also be managed in the UI. For this, we will extend the existing UI screen of a Visit. CUBA Studio guides you through the process of extending a screen via Screens > New > Screen > Extend an existing Screen. The field should only be added to the Entity editor screen, so extending VisitEdit is sufficient.
In order to add a field to an existing form component, the "delta" XML (containing all the new attributes) has to be put in the XML screen descriptor of the new extension screen. Here you will see how it looks when extending the Visit Editor screen to add the previousIllnesses field to it:
<?xml version="1.0" encoding="UTF-8" standalone="no"?>
<window xmlns="http://schemas.haulmont.com/cuba/screen/window.xsd"
  messagesPack="com.kanto.petclinic.web.screens.visit"
  extends="com/haulmont/sample/petclinic/web/screens/visit/visit-edit.xml"> (1)
  <layout>
    <form id="form"> (2)
      <column id="column1">
        <textArea
          id="previousIllnessesField"
          rows="5"
          property="previousIllnesses"
          colspan="2"
          width="100%"/>
      </column>
    </form>
  </layout>
</window>| 1 | the extends attribute declares which screen this screen extension is based on |
| 2 | by adding another form component with the same ID "form" the component will be merged with the parent one |
In this case, the text area for the new field is appended at the bottom of the form component with the ID form.
Create Visits for Today from Pet Browse
The second extension that the Kanto-Petclinic requests is to have a shortcut on creating a Visit for today.
This can be achieved by creating another screen extension to the Pet Browse screen. The extension adds one action to the Pet Table called Create Visit. The extension of the screen in the XML screen descriptor looks like this:
<?xml version="1.0" encoding="UTF-8" standalone="no"?>
<window xmlns="http://schemas.haulmont.com/cuba/screen/window.xsd"
  messagesPack="com.kanto.petclinic.web.screens.pet"
  extends="com/haulmont/sample/petclinic/web/pet/pet/pet-browse.xml">
  <facets>
    <inputDialog (1)
      id="createVisitForPetDialog"
      defaultActions="OK_CANCEL"
      caption="msg://createVisitForPetCaption"
      onAction="petTable.createVisit"
    >
      <parameters>
        <enumParameter
          id="visitType"
          enumClass="com.haulmont.sample.petclinic.entity.visit.VisitType"
          caption="msg://com.kanto.petclinic.web.screens.pet/visitType"
        />
      </parameters>
    </inputDialog>
    <notification id="visitCreatedNotification"
      type="TRAY"
      caption="msg://visitCreated" />
  </facets>
  <layout>
    <groupTable id="petsTable"> (2)
      <actions>
        <action id="createVisit"
          trackSelection="true"
          caption="msg://createVisit"
          icon="USER_MD"
        />
      </actions>
      <buttonsPanel id="buttonsPanel">
        <button id="createVisitBtn" action="petsTable.createVisit"/> (3)
      </buttonsPanel>
    </groupTable>
  </layout>
</window>| 1 | a input dialog facet is used for requesting the visit type before the visit is created |
| 2 | by redefining the groupTable with the same ID as in the parent screen: "petsTable", the merging of the two screen descriptors is initiated |
| 3 | the button is appended to the existing buttonsPanel component |
The business logic of the screen is also extended accordingly. The controller subscribes to the close event of the input dialog.
@UiController("petclinic_Pet.browse")
@UiDescriptor("kanto-pet-browse.xml")
public class KantoPetBrowse extends PetBrowse {

    @Inject
    protected GroupTable<Pet> petsTable;
    @Inject
    protected Notifications notifications;
    @Inject
    protected VisitCreationService visitCreationService;
    @Inject
    protected ScreenBuilders screenBuilders;
    @Inject
    protected MessageBundle messageBundle;
    @Inject
    protected NotificationFacet visitCreatedNotification;

    @Subscribe("createVisitForPetDialog")
    protected void onCreateVisitForPetDialogClose(CloseEvent event) {
        if (event.getCloseAction().equals(InputDialog.INPUT_DIALOG_OK_ACTION)) {
            final VisitType visitType = (VisitType) event.getValues().get("visitType");

            final Visit createdVisit = visitCreationService
                .createVisitForPet(petsTable.getSingleSelected(), visitType); (1)

            visitCreatedNotification.show();

            screenBuilders.editor(Visit.class, this)
                .editEntity(createdVisit)
                .withOpenMode(OpenMode.DIALOG)
                .show();

        }
    }
}| 1 | the creation of the Visit is delegated to the VisitCreationService which is only part of the Kanto-Petclinic project. |
The VisitCreationService is a new CUBA Service that is not part of the original Petclinic platform. Instead, we create this service exclusively for the Kanto-Petclinic project:
@Service(VisitCreationService.NAME)
public class VisitCreationServiceBean implements VisitCreationService {

    @Inject
    protected DataManager dataManager;
    @Inject
    protected TimeSource timeSource;

    @Override
    public Visit createVisitForPet(Pet pet, VisitType visitType) {

        final Visit visitForPet = dataManager.create(Visit.class);

        visitForPet.setPet(pet);
        visitForPet.setType(visitType);

        final LocalDateTime now = timeSource.now().toLocalDateTime();
        visitForPet.setVisitStart(now);
        visitForPet.setVisitEnd(now.plusHours(1));

        return dataManager.commit(visitForPet);
    }
}
With this code in place, the customizations for the Kanto-Petclinic are finished. The application can now be shipped to the customer. Let’s look at the second customer "Alabastia-Petclinic" so see some other extensions in action.
Alabastia-Petclinic
The Alabastia Petclinic extends the original Project with the following customer-specific behavior:
-
give users the ability to assign Treatment Rooms to Visits
-
automatically pre-select the assigned Nurse based on the current user when creating a new Visit
-
automatically pre-select the Nurses Treatment Room for a new Visit
Those changes require some more invasive additions to the Petclinic product. The assignment of the treatment rooms needs to be stored in two additional Entities that we are going to create only for this project. Additionally, it requires some UI adjustments that will take care of the automatic pre-selection.
Treatment Rooms for Visits
To assign treatment rooms to visits, the rooms themselves need to be managed in a dedicated entity:
@Table(name = "ALABASTIAPETCLINIC_TREATMENT_ROOM")
@Entity(name = "alabastiapetclinic_TreatmentRoom")
public class TreatmentRoom extends NamedEntity {

    @Column(name = "ROOM_NUMBER", nullable = false)
    private String roomNumber;

}
The entity annotation assigns the TreatmentRoom entity to the namespace of the Alabastia Petclinic project, which helps to differentiate between the Petclinic core entities and the additional entities.
Nevertheless, it is e.g. possible to mix and match with entities of the Petclinic platform project. In this case the TreatmentRoom entity extends the mapped superclass NamedEntity which is defined in the Petclinic platform.
After storing the information of the Rooms, it is required to store the information about the treatment room to be the default one for each Nurse. Therefore, we will create a mapping entity called DefaultTreatmentRoom which links to a treatment room and a user entity:
@Entity(name = "alabastiapetclinic_DefaultTreatmentRoom")
public class DefaultTreatmentRoom extends StandardEntity {

    @ManyToOne(fetch = FetchType.LAZY, optional = false)
    @JoinColumn(name = "USER_ID")
    private User user;

    @ManyToOne(fetch = FetchType.LAZY, optional = false)
    @JoinColumn(name = "TREATMENT_ROOM_ID")
    private TreatmentRoom treatmentRoom;

}
Now the last entity extension that needs to be made is to link a Visit to a Treatment Room. This can be done via Entity extensions as we have already seen in the Kanto-Petclinic example:
@Extends(Visit.class)
@Entity(name = "alabastiapetclinic_AlabastiaVisit")
@DiscriminatorValue("AlabastiaVisit")
public class AlabastiaVisit extends Visit {

    @ManyToOne(fetch = FetchType.LAZY)
    @JoinColumn(name = "TREATMENT_ROOM_ID")
    private TreatmentRoom treatmentRoom;

    public TreatmentRoom getTreatmentRoom() {
        return treatmentRoom;
    }

    public void setTreatmentRoom(TreatmentRoom treatmentRoom) {
        this.treatmentRoom = treatmentRoom;
    }
}
With those entity changes as well as the corresponding management screens for the new entities, we have everything in place to allow the UI to automatically pre-populate the correct values for assignedNurse and treatmentRoom.


The assigned nurse will just be the current user, whereas the treatmentRoom is looked up by the room assigned in the DefaultTreatmentRoom for the current user.
@UiController("petclinic_Visit.edit")
@UiDescriptor("alabastia-visit-edit.xml")
public class AlabastiaVisitEdit extends VisitEdit {

    @Inject
    protected DataManager dataManager;
    @Inject
    protected UserSession userSession;
    @Inject
    protected EntityStates entityStates;

    @Subscribe
    protected void onAfterShow(AfterShowEvent event) {

        if (entityStates.isNew(getEditedEntity())) {
            getEditedEntity().setAssignedNurse(
                currentUser()
            );

            defaultTreatmentRoomFor(
                currentUser()
            ).ifPresent(defaultTreatmentRoom -> (1)
                initTreatmentRoom(defaultTreatmentRoom.getTreatmentRoom())
            );
        }
    }

    private void initTreatmentRoom(TreatmentRoom treatmentRoom) {
        final AlabastiaVisit visit = (AlabastiaVisit) getEditedEntity(); (2)
        visit.setTreatmentRoom(treatmentRoom);
    }

    private User currentUser() {
        return userSession.getCurrentOrSubstitutedUser();
    }

    private Optional<DefaultTreatmentRoom> defaultTreatmentRoomFor(User user) {
        return dataManager
            .load(DefaultTreatmentRoom.class)
            .query("e.user = ?1", user)
            .view(viewBuilder ->
                viewBuilder.add("treatmentRoom", View.MINIMAL)
            )
            .optional();
    }
}| 1 | the default treatment room is looked up via the dataManager. If there is a mapping defined for the current user, the room will be set for the visit. |
| 2 | to use the methods of the extension, the Visit entity has to be casted to AlabastiaVisit. As we have extended the entity, we can be sure that CUBA will always use AlabastiaVisit instead of Visit. Therefore, it is safe to cast here. |
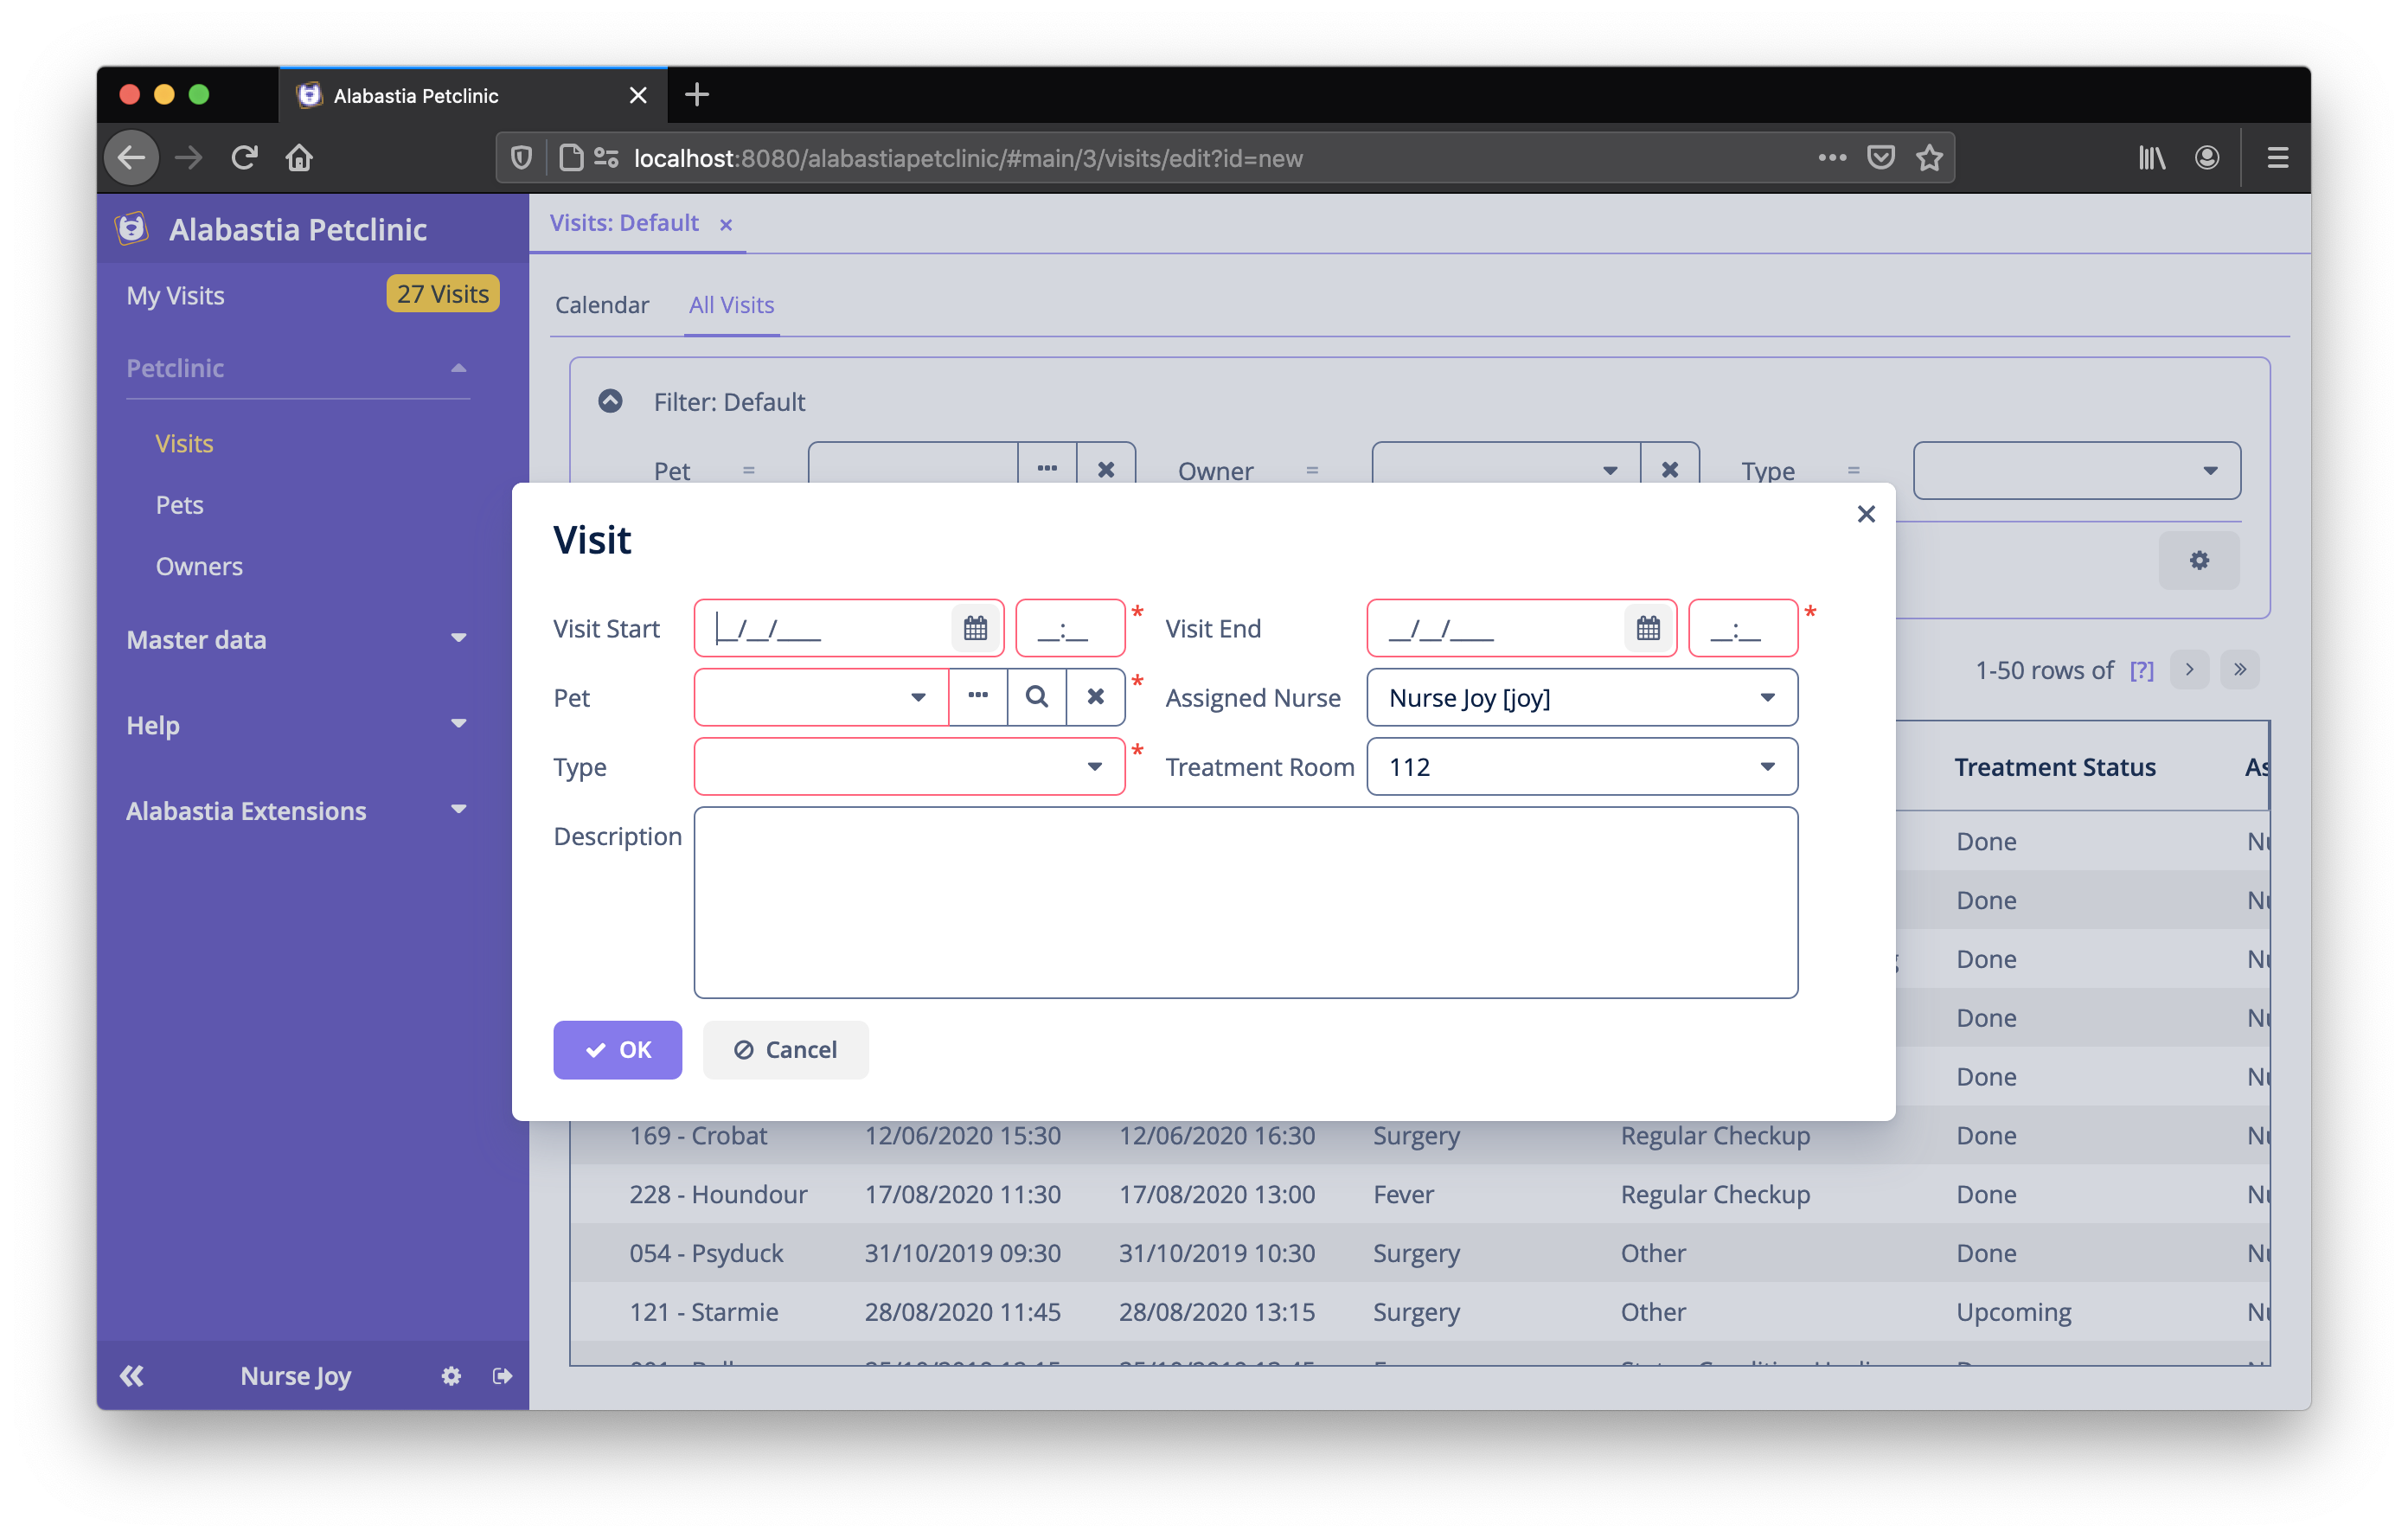
In order to see the new attribute treatmentRoom in the Visit editor, we should also extend the screen descriptor:
alabastia-visit-edit.xml
<?xml version="1.0" encoding="UTF-8" standalone="no"?>
<window xmlns="http://schemas.haulmont.com/cuba/screen/window.xsd"
  messagesPack="com.alabastia.petclinic.web.screens.visit"
  xmlns:ext="http://schemas.haulmont.com/cuba/window-ext.xsd"
  extends="com/haulmont/sample/petclinic/web/screens/visit/visit-edit.xml">
  <data>
    <collection id="treatmentRoomsDc" class="com.alabastia.petclinic.entity.TreatmentRoom"
      view="_minimal">
      <loader>
        <query>
          <![CDATA[select e from alabastiapetclinic_TreatmentRoom e]]>
        </query>
      </loader>
    </collection>
  </data>
  <layout>
    <form id="form">
      <column id="column2">
        <lookupField
                ext:index="2" (1)
                id="treatmentRoomField"
                property="treatmentRoom"
                optionsContainer="treatmentRoomsDc"/>
      </column>
    </form>
  </layout>
</window>| 1 | ext:index determines the position of the element within the second column of the form component |
In order to use the ext attributes, the namespace must be defined in the beginning of the XML file: xmlns:ext="http://schemas.haulmont.com/cuba/window-ext.xsd". CUBA Studio automatically configures the index value when the lookupField is placed via the visual representation of the screen descriptor.
|
When opening the screen now, we will see an unfetched attribute error of the attribute treatmentRoom. The reason for this is that because the view (visit-with-pet), as it is defined and used for the Visit entity, does not include the treatmentRoom attribute. CUBA allows overriding view definitions for an entity extension. This is what we need to do in order to load the treatmentRoom for the AlabastiaVisit entity:
<?xml version="1.0" encoding="UTF-8" standalone="no"?>
<views xmlns="http://schemas.haulmont.com/cuba/view.xsd">

  <view class="com.alabastia.petclinic.entity.AlabastiaVisit"  (1)
    name="visit-with-pet" extends="visit-with-pet"> (2)
    <property name="treatmentRoom" view="_minimal"/>
  </view>

</views>| 1 | the view definition targets the extended class AlabastiaVisit |
| 2 | the name of the view must match the original name and also mention that it extends this original view |
With this adjustment in place, the extended view will be taken into consideration when opening the screen and the unfetched attribute error will go away.
Summary
In this guide we have learned about the different options of how to implement product customizations via various extension mechanisms. Mainly there are the two categories of customization possibilities: Runtime extensions as well as Compile-Time extensions.
CUBA application components fall under the category of Compile-Time extensions which we used throughout the Petclinic example. They mainly differ in their capabilities on how much the original software can be adjusted. It is a trade-off between the adjustment needs and deployment flexibility. Runtime extensions can be changed at deployment / runtime, where compile-time extensions do not have this possibility.
When switching to the concrete example of the Petclinic, we explored how to make the Petclinic an application component in order to use it for projects customization.
Then we took a look into different extension use cases that either extend the existing data model or change the existing UI of the Petclinic project. Furthermore, we have seen how to create additional business logic that is independent of the original solution.
The extensions mechanisms CUBA provides for the UI layer allows highly customizable product extensions without the need to duplicate a lot of source-code. The usage of XML extensions to adjust the existing screen definitions as well as the positioning mechanisms via the ext:index attribute makes this possible.
The ability to extend (and replace) entities is quite unique in the landscape of full-stack frameworks. It allows the developer to replace the usage of an entity in the overall application and to add additional attributes to it. CUBA Studio, as always, takes care of creating the corresponding DB update scripts. This feature is particularly valuable when using product customizations, because it allows sharing an already working common data-model that can be adjusted to the specific needs of the customer.